

Duct Cleaning: What Does It Involve?
Indoor pollution is said to be one of today’s most common health concerns. Poor indoor air quality has led to increased allergies and cases of asthma across the world. It’s therefore important that you maintain a clean indoor environment for all of your living spaces. To improve your home’s indoor air quality, be sure to change the air filters of your heating and cooling system regularly and schedule an annual duct cleaning. This will ensure your home has excellent ventilation and high-quality indoor air. If you’re interested in learning what the duct cleaning process entails, this article provides the information you need.
Step One: Inspection of the Ducts
A simple inspection of the ducts is important because it allows you to determine the extent of dust build-up and decide whether the ducts need cleaning. Another reason for carrying out a duct inspection is to give your HVAC provider an opportunity to check the ducts for leaks and other faults. Most duct cleaning professionals will inspect the ducts to establish if they need to make a repair or even replace a damaged duct.
Step Two: Creating Negative Pressure
Duct cleaning involves the use of a large, portable truck-mounted vacuum collection device that creates a negative pressure to suck dust particles from your ducts. Before creating the negative pressure and scrubbing the ducts, however, your duct cleaner will carry out the following preliminary steps:
- Hook the vacuum collection device’s hose to the duct hose. The technician simply cuts a hole in the duct, inserts the vacuum hose and seals it tightly.
- Seal each register with adhesive covers. The vacuum collection will be ineffective if registers aren’t covered.
- Switch on the vacuum to create negative pressure and suck the dust from your ducts.
Step Three: Removing the Dust
While under negative pressure, the technician will then uncover the register they’re cleaning. Some undertrained technicians tend to move too fast with this step, making the technique ineffective in some instances. In fact, such a technique often results in dust being wafted back into your rooms.
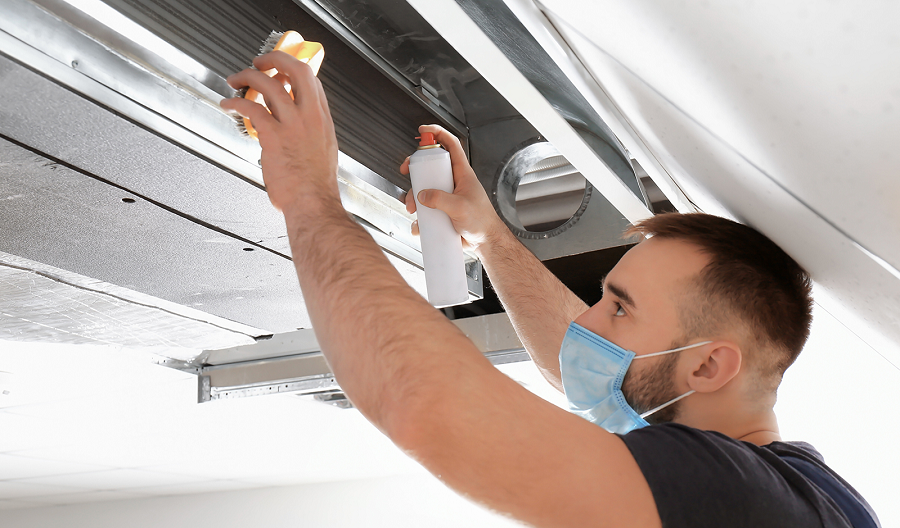
A well-trained and certified technician, on the other hand, will go on to use rotating brushes, simple vacuum cleaners and compressed air tools to remove all the dust that’s lodged in your ducts and ensure that it’s sucked into the vacuum collector.
Step Four: Cleaning the Rest of the Duct System
Most HVAC experts will advise you to clean other duct components such as the air handler’s blower motor, drain pan and evaporator, as this will ensure your duct system continues to run efficiently. Cleaning these components as well as changing the damaged filter will greatly improve your indoor air quality and extend the lifespan of your HVAC system.
A thorough duct cleaning should take about three to six hours when your technician adheres to the best practices. However, it’s important to contact a qualified and certified technician who will undertake the cleaning process as per the required standards. They will also be able to repair or replace your ducts when necessary.